It can be an enjoyable and rewarding experience to creating your claim guitar. Not only do you receive a custom tool, but you also understand in general how guitars function.
It is easier than you believe to manufacture a guitar at domestic if you are an music enthusiast or even skilled. In this guide we’ll show you how to build a DIY guitar. We will also be offering tips on how to use guitar kits, such as acoustic guitar kits, bass guitar units and guitar pedal boards too.
Why Make a DIY Guitar?
Building your own guitar has many advantages:
- Budget: Guitars can be a big investment. DIY kits spare money.
- Customizability: You get to choose the wood, color and style.
- Learning curve: Learning how guitars are made enhances your skills as a guitarist.
- Fun venture: It is pleasant and satisfying to watch your creation come alive.
Numerous fledglings pick a guitar DIY kit acoustic. They are easy to assemble and don’t require complicated hardware. If you need a bass guitar, a DIY bass guitar pack is a idealize choice.
Read Also: Guitar Effect That Mimics a Voice NYT Mini: What You Need to Know?
Materials and Instruments You Need
Gather up everything you'll need before starting.
Materials
1X: Guitar body (several DIY packs or wood of your choice)
- Guitar neck and fretboard
- Tuning pegs and bridge.
- Strings
- Sandpaper
- Wood stick and clamps
Paint or varnish for finishing.
Screws and little hardware.
Tools
- Screwdriver set
- Small hammer
- Electric penetrate with bits
- Soldering press (for electric guitars)
- Ruler or measuring tape.
Pencil for marking.
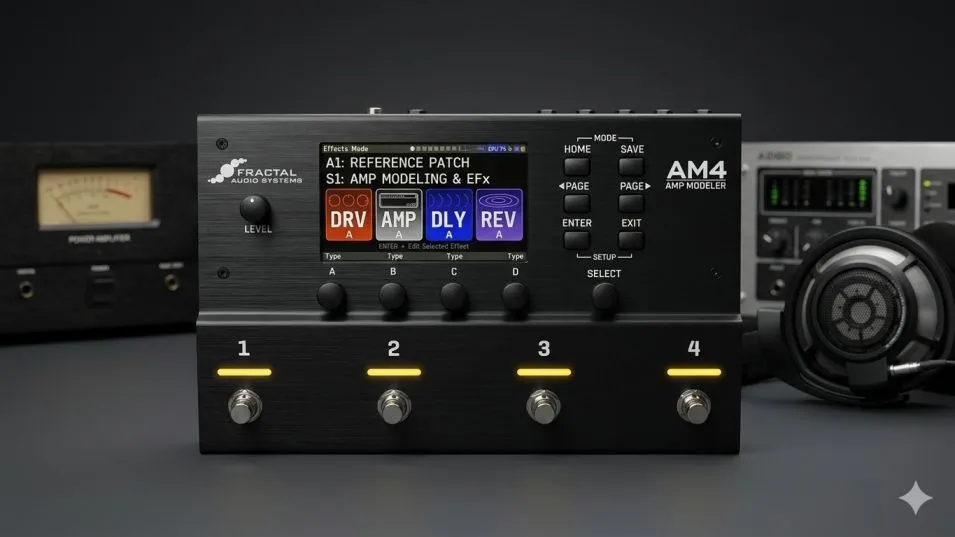
Optional: If you are looking to expand your setup, a DIY guitar pedal board can take your sound to the next level.
Step 1: Picking the Right DIY Kit
If this will be your first guitar, you are so much better off starting with a pack. There are three prevalent options:
Acoustic guitar DIY kits – These include pre-cut wood pieces, fretboards and enlightening. They are great for beginners and require minimal woodworking.
DIY Rickenbacker bass guitar: Perfect for fans of the low-end. Kits as a rule come with all the hardware and necks, making get together easier.
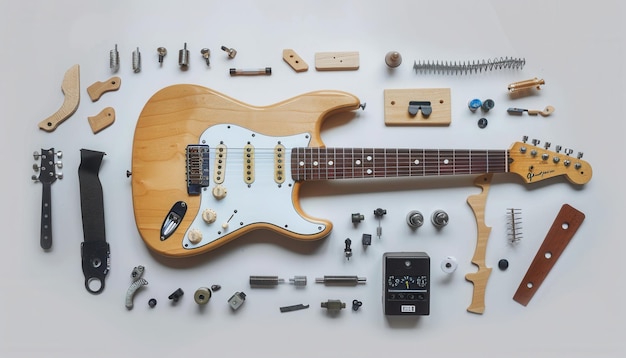
DIY Electric guitar pack: This kit includes body, neck, pickups as well as the hardware and gadgets. Best for those who want to learn bo wiring nearly entirely.
Yeah, yeah, using a unit at the beginning of something like this spares time and makes sure everything fits together OK.
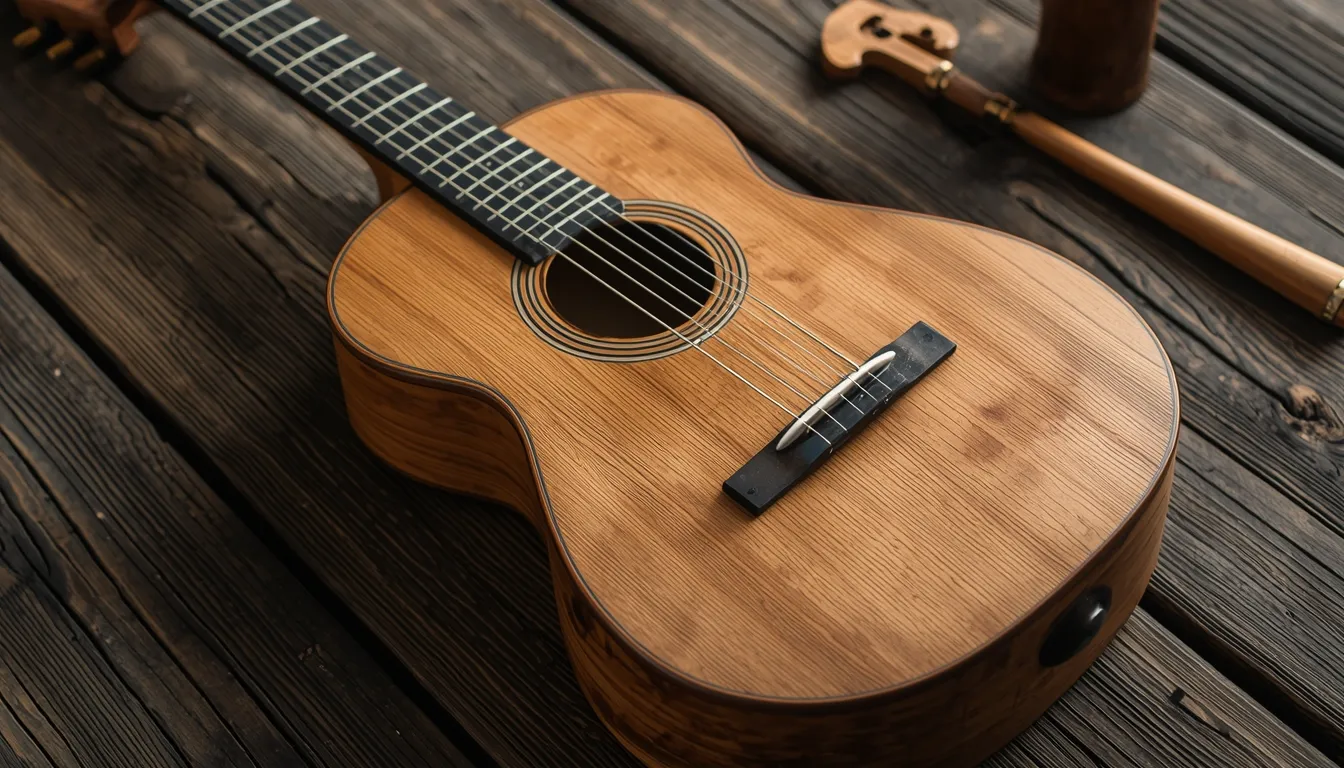
Step 2: Creating the Guitar Body
If you have opted for an acoustic guitar DIY kit then the body usually comes pre-shaped. Here’s what to do:
- Precisely sand the body to round sharp edges.
- Look for defects in the wood.
- Mark ranges for the bridge and soundhole (in the event that needed).
- Apply wood glue if amassing partitioned pieces.
For a DIY bass guitar kit, the body might be more massive. All of the surfaces should be sanded flush, and radius the edges for you comfort upgrade.
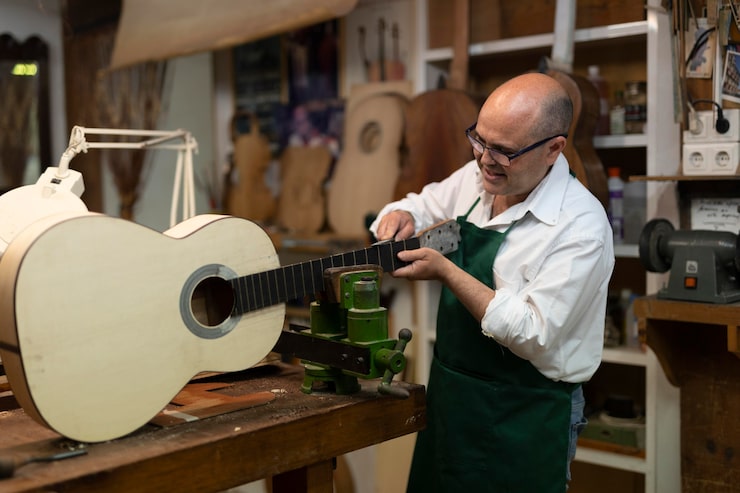
Step 3: Joining the Neck
This is the spine of your guitar, this is the neck.
- Align the neck with the body.
- There was perfection in the piloting of holes for screws.
- Screw and clamp the neck together with a tight grip.
- Verify position with the bridge.
Solid body Electric Guitars: Neck Truss Pole Adjustment For solid body electric guitars, the neck may Adjustments.
You Must Also Like: How to Make Guitar Chords Music Look Like Sinfonia Font?
Step 4: Introducing the Fretboard
The fretboard is where the enchantment happens.
- Lay the fretboard on the neck.
- Align the worries in the redress position.
- Glue or screw the fretboard in put (depending on your kit).
- Press down with enough weight and let it dry if you're using glue.
Short worries may need sanding to expel sharp edges. This step guarantees comfortable playing.
Step 5: Introducing Hardware
Now it’s time to connect hardware.
- Install tuning pegs on the headstock.
- Attach the bridge to the body.
- For electric guitars, introduce pickups and knobs.
- Ensure all screws are tight but not over-torqued.
For bass guitars, adjust the bridge with the neck to guarantee exact intonation.
Step 6: Hanging Your Guitar
Stringing is simple but requires patience.
- Choose strings based on your guitar type.
- Insert strings into the bridge or tailpiece.
- Wrap the strings around the tuning pegs.
- Tighten each string in little increases and tune it.
After hanging, check for appropriate activity (string stature) and alter if needed.
Step 7: Finishing Touches
Finishing your guitar is vital for aesthetics and durability.
- Sand the body and neck one final time.
- Apply paint, varnish, or stain.
- Let it dry completely.
- Polish to accomplish a smooth finish.
A well-finished guitar looks proficient and feels comfortable to play.
Using a DIY Guitar Pedal Board
To upgrade your guitar sound, consider building a DIY guitar pedal board.
- A pedal board organizes your impacts pedals in an efficient manner.
- It permits you to try with diverse sounds.
- You can construct a straightforward wooden outline or customize it with compartments for pedals.
Even tenderfoots can make a pedal board with minimal instruments. Combine it with your DIY guitar for a complete setup.
Tips for Success
Follow the informational in your unit with consideration to detail.
- Take your time; surging can cause mistakes.
- Use clamps to hold pieces whereas the stick dries.
- Check arrangement regularly to dodge tuning problems.
Experiment with wraps up, but maintain a strategic distance from overapplying paint or varnish.
With persistence, indeed fledglings can construct a guitar that looks and sounds great.
Benefits of DIY Guitar Kits
Using packs like acoustic guitar DIY kits or a DIY bass guitar kit makes the prepare smoother.
- Pre-cut parts spare time.
- Instructions direct you step by step.
- Hardware comes with the kit.
- You still get customization options.
A DIY guitar pedal board boosts your imagination. It lets you investigate sound impacts and keeps your setup organized.
Common Botches to Avoid
Skipping sanding steps (can lead to unpleasant edges)
- Misaligning the neck or bridge (influences tuning)
- Over-tightening screws (can break wood)
- Failing to permit the glue or finish to dry completely.
- Choosing off-base string gages (influences playability)
Being cautious in these regions will provide you a way better wrapped up instrument.
Final Thoughts
Making your own guitar is a satisfying venture. Using acoustic guitar DIY kits, a DIY bass guitar kit, or making a DIY guitar pedal board lets you learn and have fun. With the right instruments, persistence, and a sharp eye, you can make an instrument that is playable and lovely.
It will reflect your individual fashion. Start little, take your time, and appreciate making music from what you made. DIY guitars are more than rebellious.
They appear your creativity and devotion. Building an acoustic, bass, or electric guitar brings awesome bliss. There’s nothing like playing something you made yourself.