Every beginner guitarist knows the struggle. You place your fingers on the strings. You press down. You strum. It sounds okay. Then you try to switch to the next chord. Your fingers freeze.
They feel like they are made of wood. The transition takes forever. The song falls apart. I have been there. Every guitarist has. The good news is that easy chord transitions for stiff fingers are absolutely achievable.
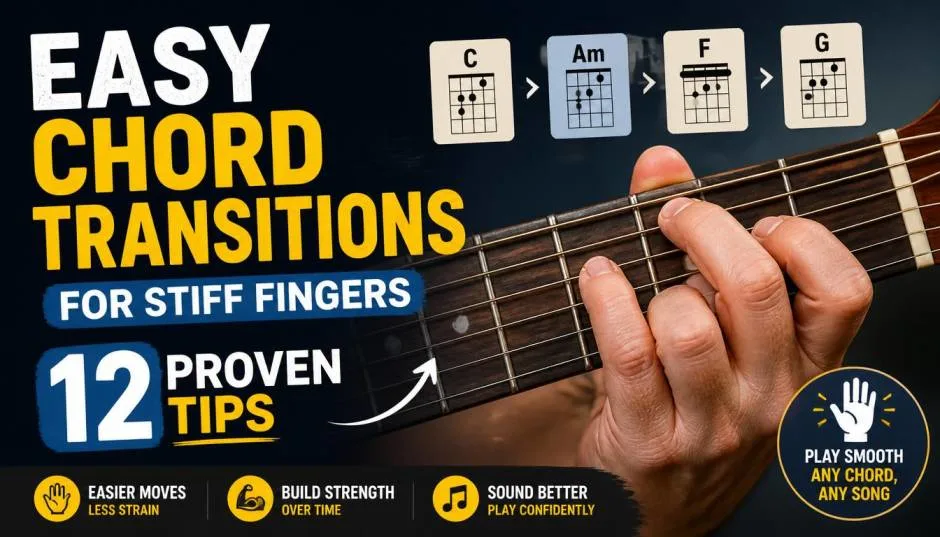
You do not need to be born with naturally flexible hands. You just need the right approach and consistent practice. Here are 12 proven tips that actually work.
Top 12 Best and Easy Chord Transitions for Stiff Fingers
1: Practice the Anchor Finger Method
This is the single most effective technique for smooth transitions. Here is how it works.
Read Also: How to Connect Minor Pentatonic Scale to Chord Shapes?
Find one finger that stays on the same string or fret between two chords. Use that finger as your anchor. Move the other fingers around it.
Example: Switching from G to C. Your ring finger stays on the third fret of the low E string for both chords. Keep it planted. Move your other fingers around it. The transition becomes instant.
Why it works: You only move two fingers instead of three. Less movement means less time. Less time means smoother transitions.
2: Use Pivot Fingers
Pivot fingers are similar to anchor fingers. But they move to a different string while staying on the same fret.
Example: Switching from C to Am. Your index finger stays on the first fret of the B string. It does not move at all. Your middle and ring fingers adjust around it.
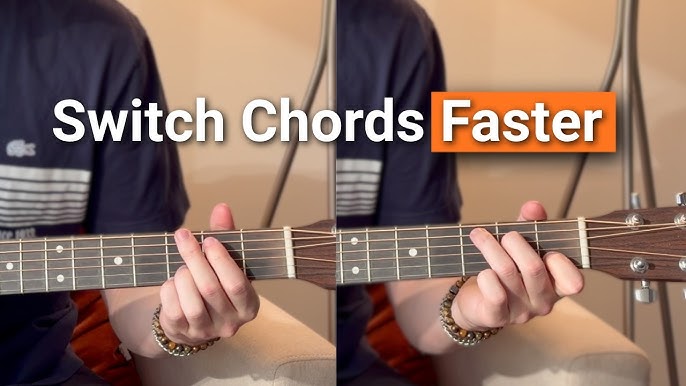
How to practice: Find common chord pairs. Identify the pivot finger. Practice moving only the other fingers. Keep the pivot finger locked in place.
3: Lift Fingers Just Enough
Many beginners lift their fingers too high off the fretboard. This wastes time and energy.
You Must Also Like: How Much Are Guitar Lessons? A Guitar Lessons Chord and Finger Picking
The rule: Lift your fingers just enough to clear the strings. No higher. Keep them hovering close to the fretboard.
Why it matters: Less distance to travel means faster transitions. Your fingers do not need to take a scenic route.
What to avoid: Do not curl your fingers into your palm between chords. Keep them relaxed and close to the strings.
4: Practice the "Claw" Motion
Your hand should move like a claw when changing chords. Open your hand slightly, move to the new position, and clamp down.
The drill: Clamp down on a chord. Release the pressure slightly. Slide your hand into the next shape. Clamp down again. Think of it like a crab walking sideways.
Common mistake: Releasing all tension between chords. Keep some pressure in your fingers. Not enough to buzz, but enough to maintain shape.
5: Slow Practice with a Metronome
Speed comes from accuracy. Not the other way around.
How to do it: Set a metronome to a very slow tempo. 40 BPM or even 30 BPM. Change chords on the click. Once you can do it cleanly for a full minute, increase the tempo by 5 BPM.
The psychology: Playing slow teaches your fingers the correct muscle memory. Speed develops naturally over time.
How long it takes: Most beginners see noticeable improvement after 30 minutes of this method. Your fingers "remember" the shape faster each time you do it.
6: Visualize the Chord Shape Before You Move
This sounds strange but works incredibly well.
How to do it: Before you change chords, visualize the shape in your mind. See your fingers on the fretboard. Then move.
Why it works: Visualization primes your brain and muscles. They know where to go before your fingers start moving.
The strategy: "Think like a chess player, not a checkers player." Plan the move ahead of time. Do not react after the chord change.
7: Isolate the Most Difficult Transition
Every song has a transition that trips you up. Stop playing the whole song. Focus on that one move.
The drill: Play the first chord. Lift your fingers. Change to the second chord. Strum once. Change back. Repeat this until the movement feels natural.
How to know you are ready: When you can change chords on the beat without hesitation, you can put the transition back into the song.
8: Try Different Fingerings
There is often more than one way to play a chord. Experiment to find what works for your hand.
Example: The C chord can be played with your ring finger or pinky on the low E string. Try both. See which one makes transitions easier for you.
For beginners: Look up alternative fingerings for common chords. Some are designed specifically for easier transitions.
9: Use Common Chord Families
Groups of chords that share hand positions make transitions easier.
Easy families to practice:
-
C, Am, F: Many shared finger positions
-
G, Em, C: Anchor and pivot possibilities
-
A, D, E: Open chords that work well together
Practice routine: Pick one family. Practice switching between all three chords until smooth. Then add a fourth chord.
10: Finger Stretching Exercises
Stiff fingers need to be warmed up.
The drill: Place your fingers on frets 5, 6, 7, and 8. One finger per fret. Slowly stretch your index finger back to fret 1. Then the middle finger to fret 2. Continue until all fingers have stretched.
Duration: Practice for 5-10 minutes before playing. The flexibility will improve over time.
11: Keep Your Thumb in the Right Position
Your thumb is the foundation of your hand position.
The correct position: Place your thumb on the back of the neck. It should be behind your middle finger. This allows your fingers to curve naturally over the strings.
Trending Article: Top 3 Free Printable Guitar Chord Chart With Fingers
Common mistake: Wrapping your thumb over the top of the neck. This limits finger movement.
The fix: Check your thumb position every time you change chords. Keep it anchored on the back of the neck.
12: Practice with Simple Songs
Pick songs with only two or three chords. Do not start with complex songs.
Recommended songs:
-
"Knockin' on Heaven's Door" (G, D, Am, C)
-
"Jambalaya" (C, G)
-
"Achy Breaky Heart" (A, E)
-
"Blowin' in the Wind" (G, C, D)
The plan: Master the transitions in the song. Then add a second verse. Then a bridge. Build up gradually.
What Not to Do?
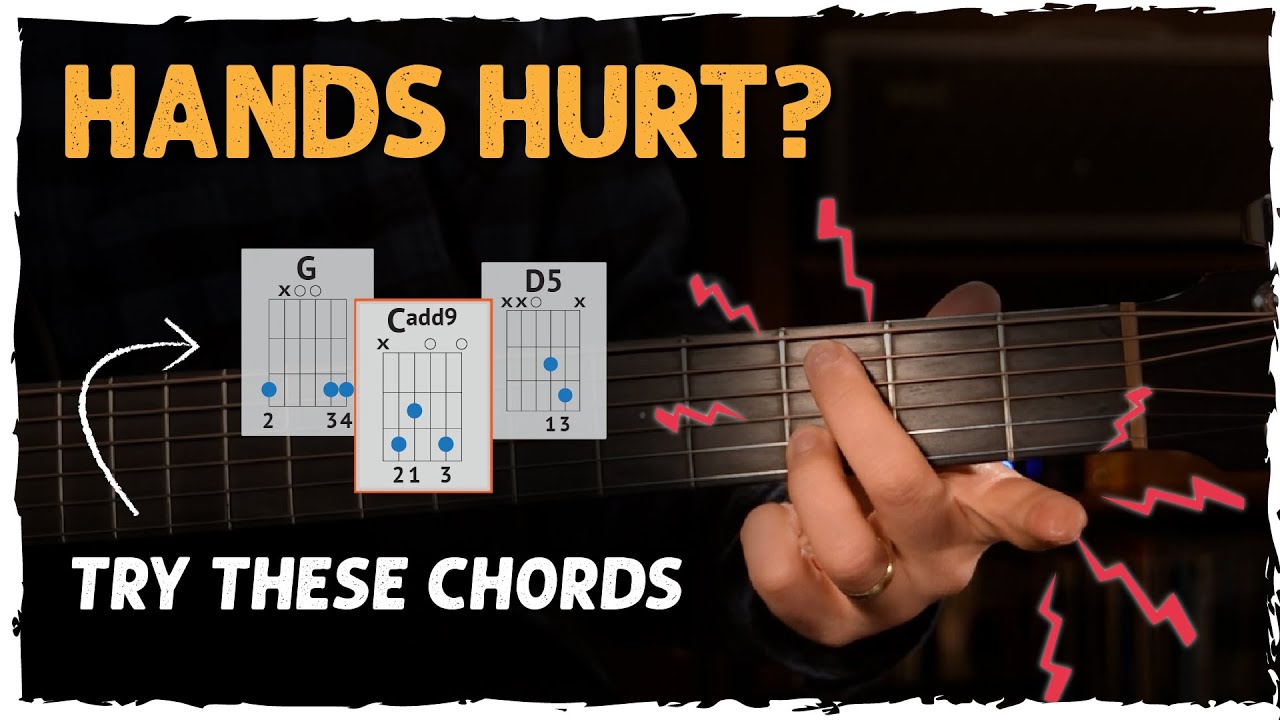
Do not grip too hard. Press only enough to make the note ring out. Extra tension slows you down.
Do not rush. Speed comes from accuracy, not from trying to play fast.
Do not skip the basics. Guitar chords finger placement for beginners matters. Proper technique makes transitions easier.
Do not get frustrated. Your fingers are building muscle memory. This takes time. Be patient.
How to Track Progress?
Weekly check: Record yourself playing the same chord progression every week. Compare the recordings. You will see improvement even if you do not feel it.
Session goal: Play one chord transition 50 times correctly. Stop when you achieve it. Quality over quantity.
When to Get Help
If you have practiced these tips for several weeks and see no improvement, consider:
-
Taking a lesson to check your technique
-
Trying a lighter string gauge
-
Checking your guitar setup
The Final Thoughts
Easy chord transitions for stiff fingers are not a myth. They are a skill. A skill you can develop with the right approach. Start with the anchor finger method. Use pivot fingers.
Practice slow with a metronome. Keep your fingers close to the fretboard. Visualize before you move. Be patient. Your fingers will learn. One day, you will switch chords without even thinking about it. That is when guitar becomes truly fun.
Stick with it. The results are worth it.